Photos and scans → .goodnotes
Paper notes, back as ink you can edit.
gndigitize traces every line in a photo of your notebook and writes a GoodNotes file where each one is a real pen stroke. Select it, recolour it, erase half of it. Nothing is pasted in as a picture.
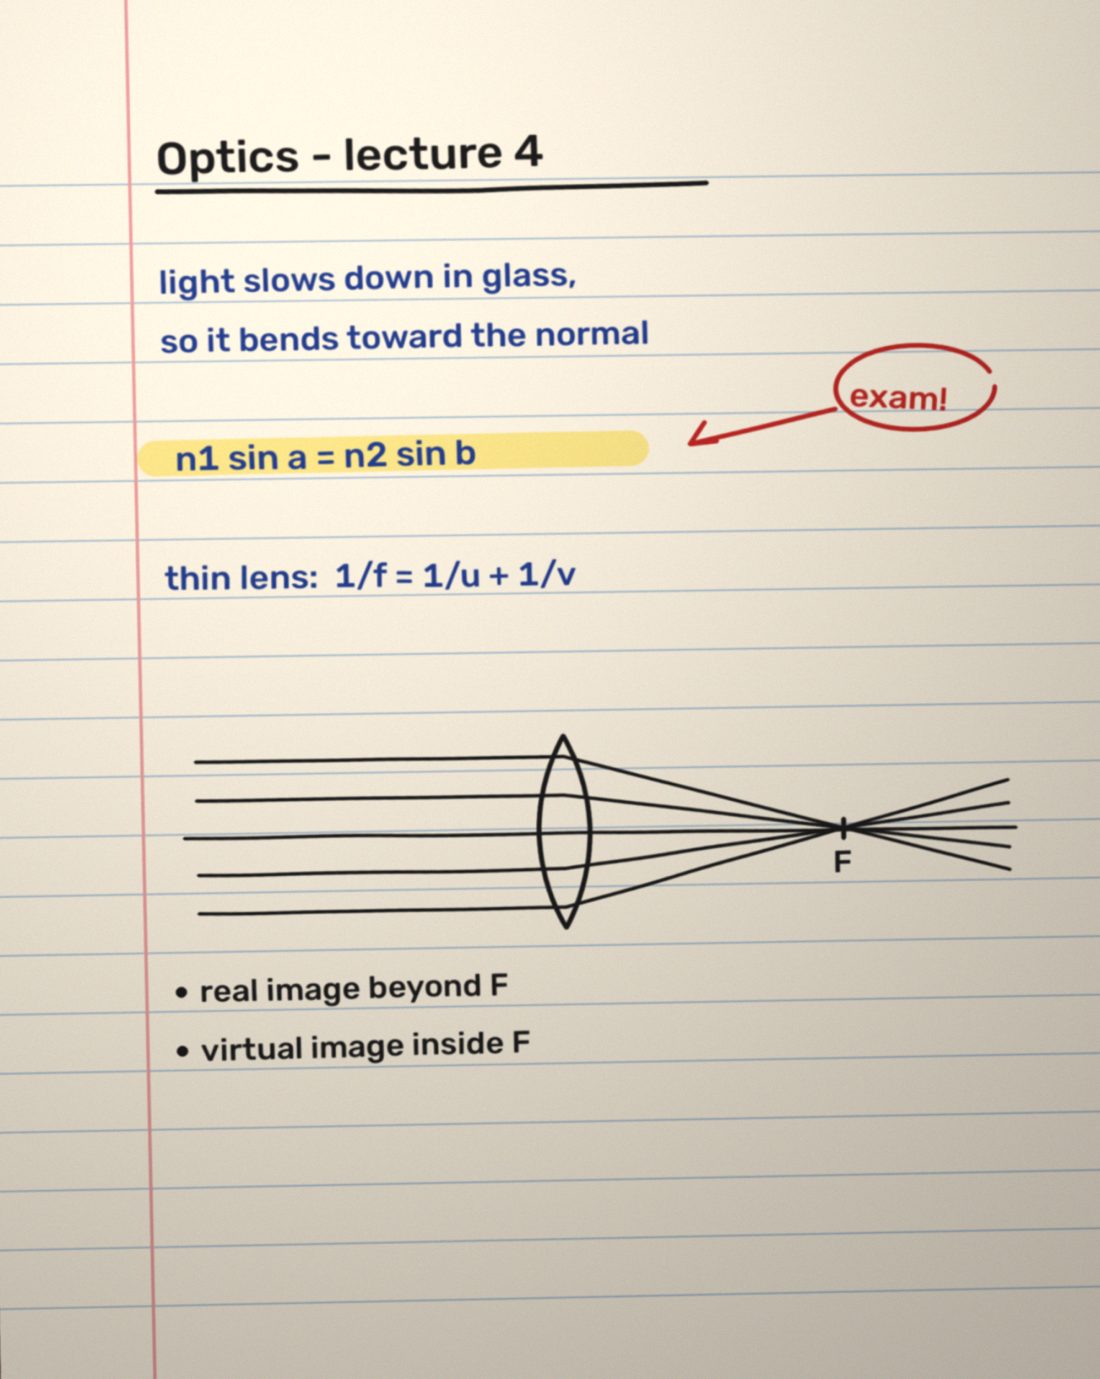
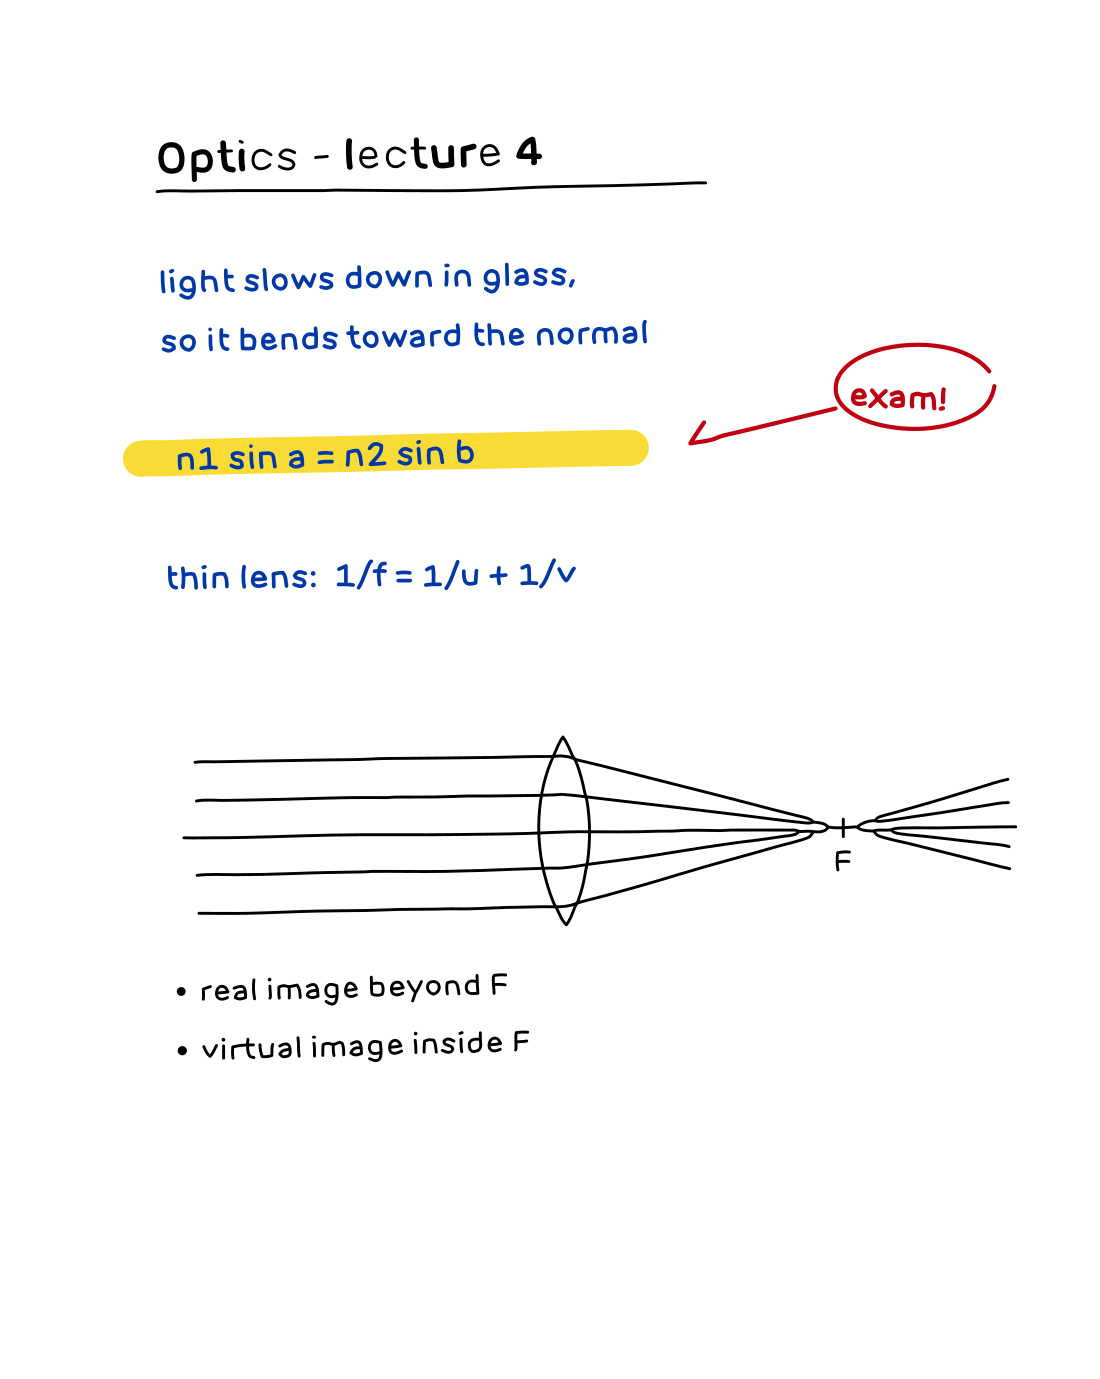
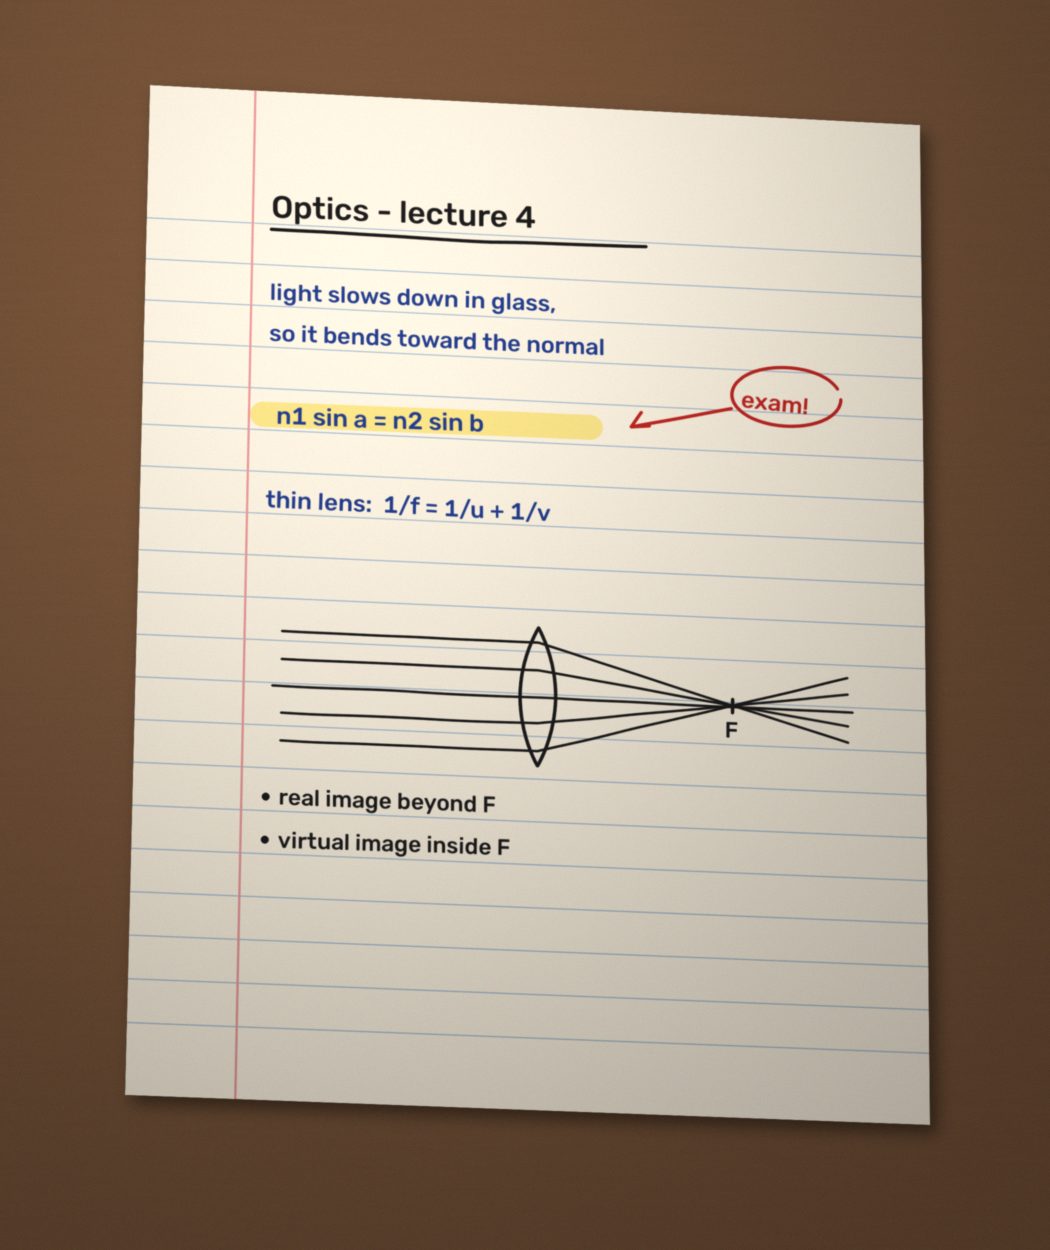 As photographed
The output
Strokes, not a scan.
A scanned page in GoodNotes is a picture: you can write over it, but not into it. gndigitize gives you the same thing you would have if you had written the page on the iPad in the first place.
- Shape
- Each line becomes a smooth curve that follows the centre of the ink. Sharp corners stay sharp, and crossing lines stay separate strokes.
- Width
- Measured from the ink, then set once per pen, the way a real pen writes. This page came out at 2.24 pt.
- Colour
-
Pens are told apart by colour, and a wide light one becomes a highlighter, like the yellow one here.
#00000079#0039a7103#bf001110#f9db351
- Layout
- Strokes keep their place on the page. Pages match the photo's shape, or A4, Letter or A5 if you prefer.
How it works
From pixels to pen strokes in four steps.
The same patch of the page above, at each step.
-
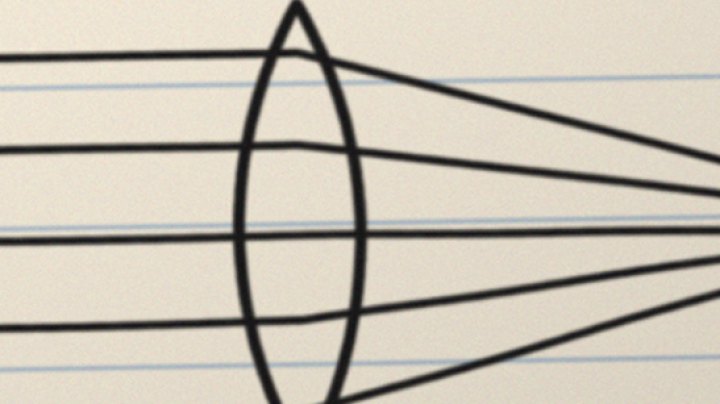
1 Find the page
The sheet is found, flattened and evenly lit. The desk, shadows and the lamp's hotspot are left out.
-
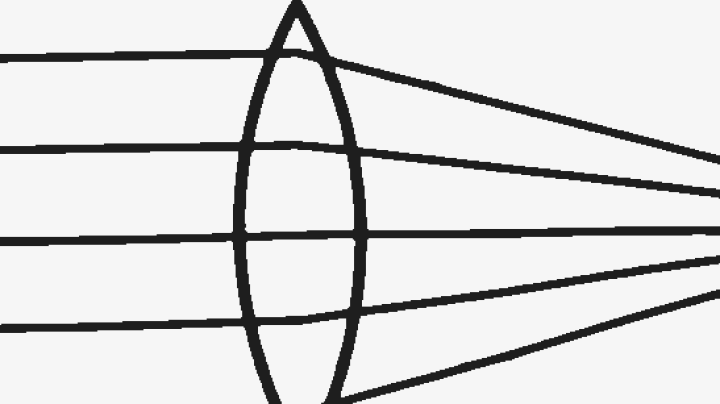
2 Lift the ink
Ink is separated from paper by how far it is from paper-white. Printed rules, margin lines and punched holes are removed; writing that touches them stays.
-
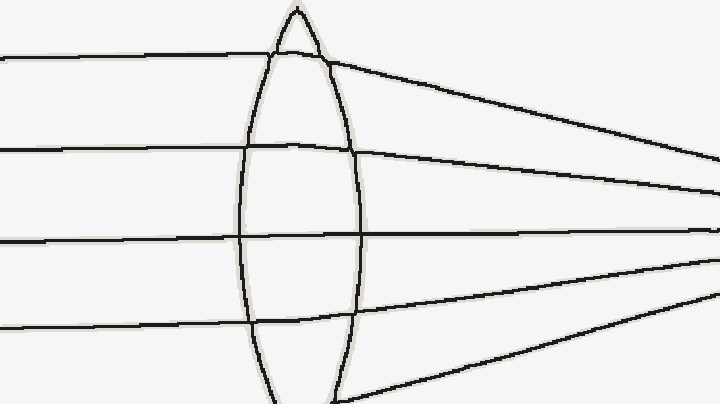
3 Find the centre lines
Each mark is thinned to its centre line, and where lines cross, the tracer decides which pieces belong to the same stroke.
-
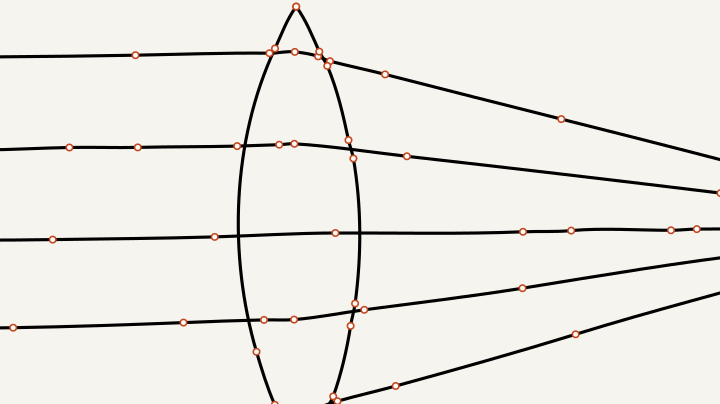
4 Fit curves, write the file
Centre lines become smooth curves with a width and a pen colour, and are written as a
.goodnotesfile that is read back and checked.
What it reads, and where it stops.
Files
- PNG, JPG, HEIC, TIFF, WebP, BMP
- PDF: one notebook page per PDF page
- Ink already drawn in a PDF is copied exactly, without tracing
- Many files or a whole folder, as one notebook or one each
Paper
- Photos at an angle, with shadows or warm light
- Ruled lines and margin lines
- Spiral bindings and punched holes
- Desks, cables and anything else around the sheet
Not yet
- Stroke order is guessed from the shape; a photo doesn't record it
- Very small, dense writing can merge into clumps
- Pencil shading comes out as many short strokes
- Pen pressure becomes one width per stroke, as GoodNotes stores it
Install
Install once, then point it at a photo.
Needs Python 3.11 or newer. Then import the result in GoodNotes through Files, AirDrop or Import.
Command line
pip install https://github.com/middleclicker/Goodnotes-Digitizer/releases/download/v0.1.0/gndigitize-0.1.0-py3-none-any.whlgoodnotes-digitize page1.jpg page2.heic -o notes.goodnotesDesktop app
Add photos, pick a few options, and watch each page appear next to its strokes as it converts. Included from source; it isn't in the v0.1.0 package yet.
git clone https://github.com/middleclicker/Goodnotes-Digitizer
cd Goodnotes-Digitizer && pip install -e .
goodnotes-digitize-gui